
When a vacuum leaves debris behind, it is tempting to order a new filter immediately. Sometimes filter maintenance is relevant, but poor pickup is a description of the result, not a diagnosis. The obstruction, attachment, setup and machine condition all deserve consideration. A short, orderly investigation can prevent a replacement purchase that leaves the original problem unchanged.
Dyson’s V15 support information lists several possible contributors to poor performance, including filter care, the power setting, tool condition and cyclone condition. Use the official troubleshooting route for your own model. The checks below help you describe the issue and organize that process; they do not replace the machine’s instructions.
Describe the symptom more precisely than “no suction”
Write down what you can observe. Does the machine run normally but leave a particular kind of debris? Does one tool behave differently from another? Is there a warning on the display, a change in sound, or an interruption during use? These are separate observations, and combining them into one phrase can hide the most useful clue.
Also record what changed recently. A newly fitted tool, a filter wash, a full cleaning session on a different surface or the first use after storage may be relevant context. None proves the cause. The point is to start with a manageable set of facts rather than replace parts in the order suggested by search results.
Use a safe stopping rule
If the vacuum has smoke, a burning smell, visible electrical damage or another apparently unsafe symptom, stop using it and seek manufacturer support. Do not continue a household troubleshooting exercise to collect more observations. Follow the machine’s power-disconnection instructions before inspecting removable components.
Keep hands and tools away from moving parts and avoid probing inside the machine while it is powered. Do not run it without its required filter or bypass an interlock to judge airflow. Such tests create a different problem from the original question about poor pickup.
Check the task and setup
Identify the surface, debris and attachment involved. A complaint limited to one rug or one tool is different from a complaint during every cleaning task. Confirm that the chosen accessory and settings are appropriate under the machine’s instructions. If you recently changed either, record that change before touching anything else.
For example, imagine an owner who notices poor pickup only after switching attachments. It is reasonable to inspect the new setup first, following the manual. It would be premature to conclude that a filter failed at the same moment. This example illustrates how to prioritize questions; it does not establish the cause in any particular machine.
Follow the airflow path through the approved inspection steps
Open the model’s blockage instructions and use their sequence for removable parts. Keep removed pieces in order so you can reassemble them correctly. Inspect only the areas the instructions identify, using the permitted cleaning method. Do not push an obstruction deeper into a tube or use a sharp object because it happens to fit.
Write down anything found before removing it. A photograph of a visible obstruction can help if the issue returns. If an area is inaccessible without further disassembly, stop at the limit of the owner instructions and ask support. The goal is to locate a problem without creating damage through improvised access.
Evaluate the filter as one component
Check whether the installed filter is the correct part, whether it is physically intact and whether its prescribed maintenance has been completed. If it was recently washed, review its drying status before considering a return to service. If it was recently replaced, check the exact compatibility information rather than assuming a new part must be the correct one.
Our filter-washing guide covers preparation and care organization. The replacement-decision guide explains why visible damage and routine dirt should lead to different questions. Neither guide treats a new filter as a guaranteed cure for poor suction.
Change one relevant thing at a time
Suppose you empty the bin, change the filter, swap the head and alter the power mode all together. If the result improves, you will not know which action mattered. When the official troubleshooting sequence allows it, complete its checks in order and note the result at each stage. Do not invent repeated operating tests outside that guidance.
| Observation to record | Why it is useful |
|---|---|
| Exact model and installed filter | Prevents advice for an unrelated machine |
| Tool and surface involved | Shows whether the complaint is task-specific |
| Message or warning | Connects the concern with the proper support route |
| Recent maintenance or changes | Provides a timeline without guessing a cause |
| Result of each documented check | Avoids repeating steps without new information |
Understand what a filter swap can and cannot tell you
If the official process recommends trying a suitable spare, record the identity and condition of that spare. It should be properly matched and ready for installation. An apparent improvement is useful to report, but it does not measure filtration efficiency, prove a certification or establish a universal service life for the removed part.
A lack of improvement is also information. It may justify continuing the model’s investigation rather than buying another pack. Do not translate one unsuccessful swap into the conclusion that every compatible filter is unsuitable, or one successful swap into a claim that a particular filter creates more suction than the original design.
Choose a replacement only after establishing its role
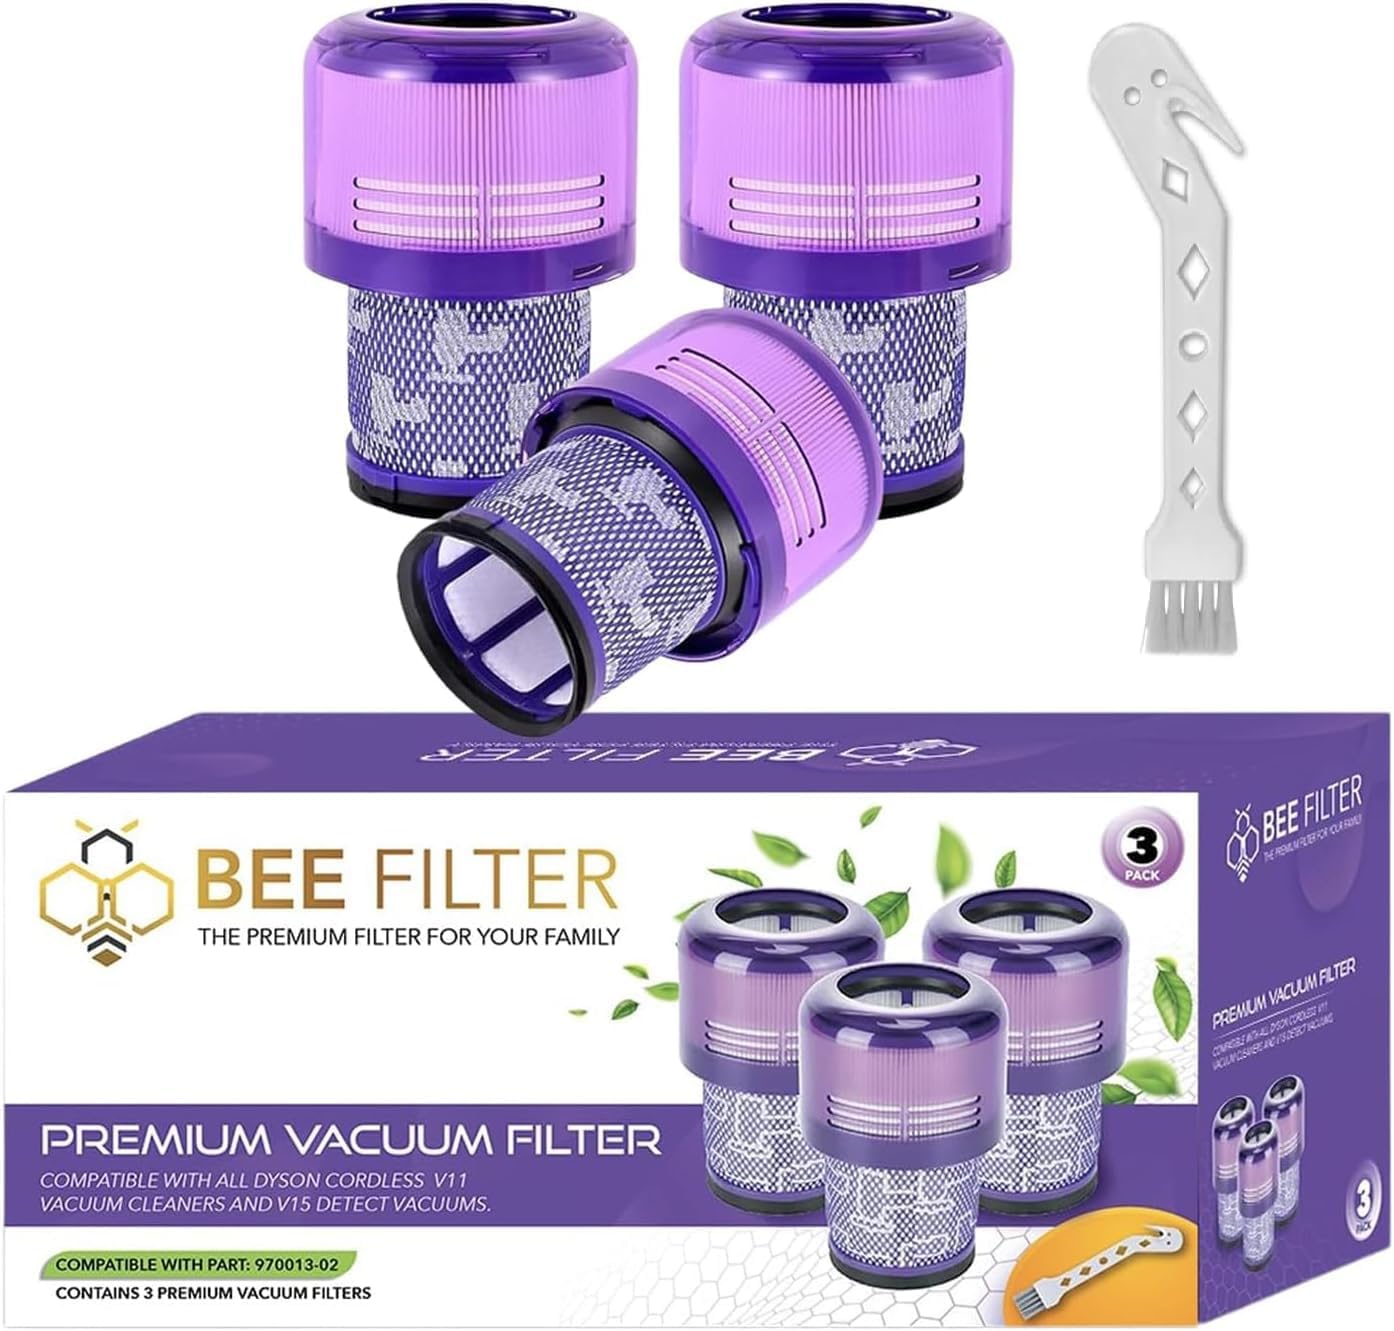
If inspection or support shows that a replacement is appropriate, confirm the model and reference number before ordering. Bee Filter B0CBHH1WDR is a three-pack listed for selected V15 and V11 machines. B0H1MYJCTK is a two-pack for the Outsize family. A V11-related name does not make every Outsize and standard V11 filter interchangeable.
Read the exclusions on the product page and compare the existing attachment features. Treat a pack as a group of specific replacement parts, not as a general vacuum repair kit. If the unresolved problem is in a head, wand or another component, extra filters do not address that component simply by being new.
Know when to hand the investigation to support
Stop when the model’s troubleshooting flow directs you to do so, when a part will not reassemble normally, or when the checks leave the cause unclear. Send a concise record instead of a broad claim that the machine has lost all power. Include photographs of any warning or visible issue and the specific steps you completed.
If the concern began after a filter purchase, keep the order identifier and packaging details. Tell the seller whether the issue is physical fit, a displayed warning or cleaning performance. Those categories require different evidence. A seller cannot reliably investigate a fit question from a photograph of dust remaining on the floor alone.
Prevent confusing results in future maintenance
Store different machine families’ spares separately and keep one maintenance record per vacuum. Note why you changed a part, not just when you bought it. The next time performance changes, this record makes it easier to distinguish a recurring issue from an unrelated task or accessory change.
After a confirmed resolution, repeat the relevant care habit rather than the entire troubleshooting exercise. If an obstruction was the issue, remember the approved inspection location. If fit was the issue, improve your compatibility record. If filter maintenance was required, plan it before the next busy cleaning period. Good records turn a frustrating symptom into a more manageable maintenance routine.
For a display message that appeared specifically after washing, continue with filter warnings after cleaning. If you are comparing replacement brands, read original and compatible filter choices before deciding what evidence matters for your purchase.
Sources and further reading
Model-specific manufacturer instructions take priority. Product options refer to the Bee Filter catalog reviewed on October 16, 2026.