
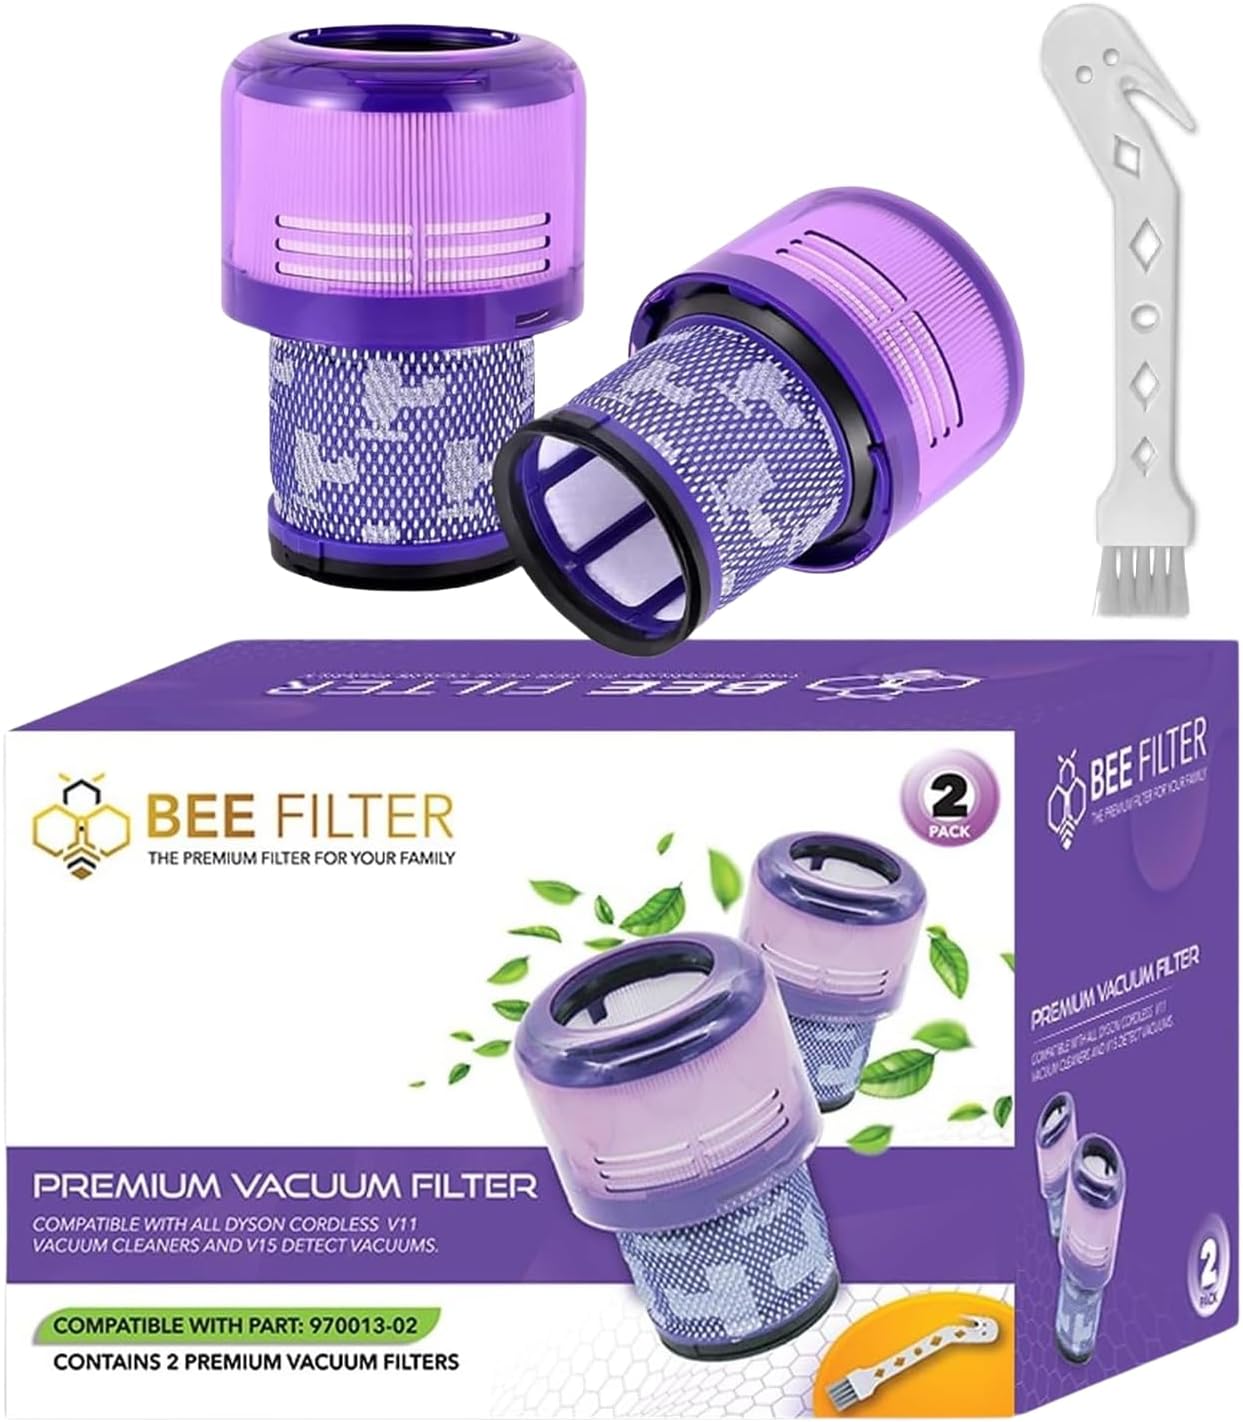
Washing a vacuum filter sounds like a quick household task, but the useful question is bigger than how long to hold it under a tap. You need to identify which part is washable, keep water away from the machine, and arrange the rest of your cleaning around the drying period. A little preparation makes the process easier to repeat and helps prevent the most inconvenient outcome: a wet filter on the counter when you need to vacuum.
This guide is a planning and handling companion for owners of compatible Dyson cordless vacuums. It does not replace the instructions for your exact machine or the care information supplied with a replacement filter. If you use a Bee Filter replacement, identify its ASIN as well as your vacuum model so that care and compatibility questions refer to the actual item you own.
Start by identifying the removable filter
Look at the machine label, your order record and the existing filter before taking anything apart. A family name such as V15, V12 or Outsize is useful, but it should not be the only detail in your notes. Record the full model designation and the reference number of the intended filter. Do not assume that every fabric, mesh or foam part visible inside the vacuum can be washed in the same way.
For example, the Bee Filter B0CBHHKJXG two-pack is listed for selected V15 and V11 models, while B0DSZF1N42 is a V12 two-pack. These are separate product choices. Matching a color in a photograph is not a substitute for matching the compatibility list, and buying a spare for one family does not make it suitable for the other.
Set up a workspace before you remove the part
Choose a time after your planned vacuuming rather than just before it. Clear enough counter space for the removed filter, a clean drying area and the instructions on your phone. Keep the vacuum body and charger away from the washing space. Place a simple note where the machine is stored so another person in the household knows that it is temporarily out of service.
- Read the relevant filter-care section before starting, including its removal and refitting instructions.
- Switch the machine off and follow its specified power-disconnection precautions.
- Have a waste bin nearby for loose debris and a separate clean place for the washed part.
- If you plan to use a spare, check its model match and condition before removing the current filter.
The purpose of this setup is to avoid improvisation. Searching for a drying location while holding a dripping filter often leads to unsuitable choices, such as a crowded cupboard or a towel pile. Decide where the filter will stay first, then begin the task.
Follow the model’s wash sequence
Dyson’s general filter-care guidance recommends regular washing, tap water without detergent, and at least 24 hours of drying with good airflow. The filter must be completely dry before refitting. Its model-specific instructions take priority over a generic sequence, particularly for water temperature, orientation and removal details.
Open the instructions for your model and work through them in order. Distinguish the step for removing loose dust from the step for washing the filter. Do not add household cleaners because the part looks stained, and do not use a brush, tool or aggressive scraping method unless the relevant instructions call for it. Washing is a maintenance process, not a requirement to make every surface look factory new.
Keep the rest of the machine out of the sink. A filter being washable does not establish that its neighboring components, electrical contacts or assembled housing can be immersed. If you discover dirt in another area, treat that as a separate maintenance question and consult the appropriate section of the manual.
Use an inspection point rather than chasing appearance
Before and after washing, look for obvious physical problems that cleaning cannot fix: a split housing, a damaged attachment feature or a seal that has come loose. Do not try to hide damage by pushing the part harder into place. Photograph the problem clearly and ask the seller or manufacturer whether the part should be replaced.
Color alone is a weak reason to discard a filter. Conversely, a clean-looking exterior is not evidence that a filter is ready for installation. Keep three questions separate: has it been cleaned as instructed, is it physically intact, and is it fully dry? Treating those as separate checks makes the decision more reliable than looking for a single visual sign.
Make the drying stage visible to the household
Put a note beside the drying part with the wash date and time. The note is a reminder, not a certificate that the filter will be ready at a precise hour. Leave a blank space for the person who checks it to record when it was returned to service. That small habit is especially useful when several people share one vacuum or when you wash more than one model’s filter together.
Do not put an unfinished filter back near the vacuum as a reminder to install it later. Someone else may assume that a part sitting beside the machine is ready. A distinct drying location makes its status clearer. For more detail on scheduling and checking readiness, see how long a Dyson filter takes to dry.
A spare-filter routine that stays organized
A spare is convenient only if you can distinguish it from the one being washed. Keep a short record on a storage card or the outside of its storage container rather than sticking labels on filter media or sealing surfaces. Use labels such as Filter A and Filter B in that record, with each item’s compatible machine and last wash date.
A two-pack can support one installed filter and one spare, provided both fit the same machine and are maintained properly. It does not mean that both filters need washing together. If one is clean and unused, leaving it ready for the next change is often more practical than creating two wet parts at once. A household with two different vacuum families should keep separate storage areas.
Before the next cleaning session
Refit according to the relevant instructions and check that the part sits as intended. Do not use extra force to compensate for an uncertain model match. If the machine reports a problem after cleaning, read the exact message rather than assuming that another wash is needed. Our guide to a filter warning after cleaning explains how to organize that investigation.
Keep the first return-to-service check simple: confirm the correct part, complete drying, intact housing and proper seating. If any of those remains uncertain, stop there. Repeated trial runs do not establish that a questionable part is appropriate.
Build a routine you will actually follow
A useful reminder includes an action, not just a date. Write “check filter condition and consult the model’s cleaning instructions” rather than “buy new filter.” Keep the manual link beside your product order details. That creates a practical maintenance record without assuming a replacement schedule that may not apply to your use.
For a busy household, choose a predictable gap between cleaning sessions and prepare the spare first. For an occasionally used vacuum, inspect its stored filter before the next planned job rather than discovering a problem halfway through. Both routines begin with the same goal: make the machine’s readiness clear before you need it.
Sources and further reading
Model-specific manufacturer instructions take priority. Product options refer to the Bee Filter catalog reviewed on October 16, 2026.