
You washed the filter, put it back and expected the vacuum to be ready. Instead, the display still reports a problem. That can feel like proof that the cleaning failed, but the timing alone does not identify the cause. The most useful next step is to record the exact message and review what changed during maintenance.
This guide organizes information for an owner-level check. It is not a universal reset procedure, and it does not tell you to bypass a warning. Dyson models differ, so keep the support page or manual for your exact machine open while you work. If an instruction here and your machine’s instructions differ, use the model-specific instructions.
Read the actual warning before repeating the wash
Dyson’s V15 support page distinguishes a filter attachment alert from a filter wash alert and a blockage alert. Those messages point to different checks. Write down the words shown on your own machine, or photograph the display. Avoid shortening all of them to “filter error,” because that removes useful information.
A written record is especially important if you ask someone else to help. “It showed an attachment warning as soon as I reinstalled the filter” is more precise than “the suction is broken.” If your model uses icons or lights rather than those words, identify them in its manual rather than borrowing another model’s interpretation.
Build a short timeline
Record whether the warning appeared before washing, immediately after refitting or later during use. Note whether you changed the filter, attachment or another component at the same time. Include the wash time and the steps you completed. The objective is to reduce the number of uncertain variables.
- What exact vacuum model are you using?
- Which filter was installed before maintenance, and which one is installed now?
- What prompted the original cleaning?
- What message appeared before and after the work?
- Was anything else removed, cleaned or replaced?
This timeline does not require technical language. Use ordinary descriptions and retain photographs. If the issue reaches manufacturer support, these details help the conversation start with evidence rather than with repeated requests to reconstruct the sequence.
Confirm readiness before checking fit
A recently washed filter must meet its care instructions before it returns to service. If you are uncertain about its drying status, stop and address that uncertainty first. For timing and organization, read our filter-drying guide. Do not run the vacuum repeatedly as a way to finish the drying process.
Also inspect the filter for damage that may have become apparent during handling. An attachment feature that no longer holds or a visibly displaced seal is a different problem from ordinary dirt. Avoid adding tape, packing material or an improvised spacer to silence a warning. Such modifications obscure the fit question you need to resolve.
Verify the filter identity
If you own more than one Dyson vacuum, compare the part you are installing with the correct machine’s record. A familiar color or shape is not enough. Read the listing or package identifier and check the supported model names and exclusions. Ask whether a spare from another room entered the process while the original filter was drying.
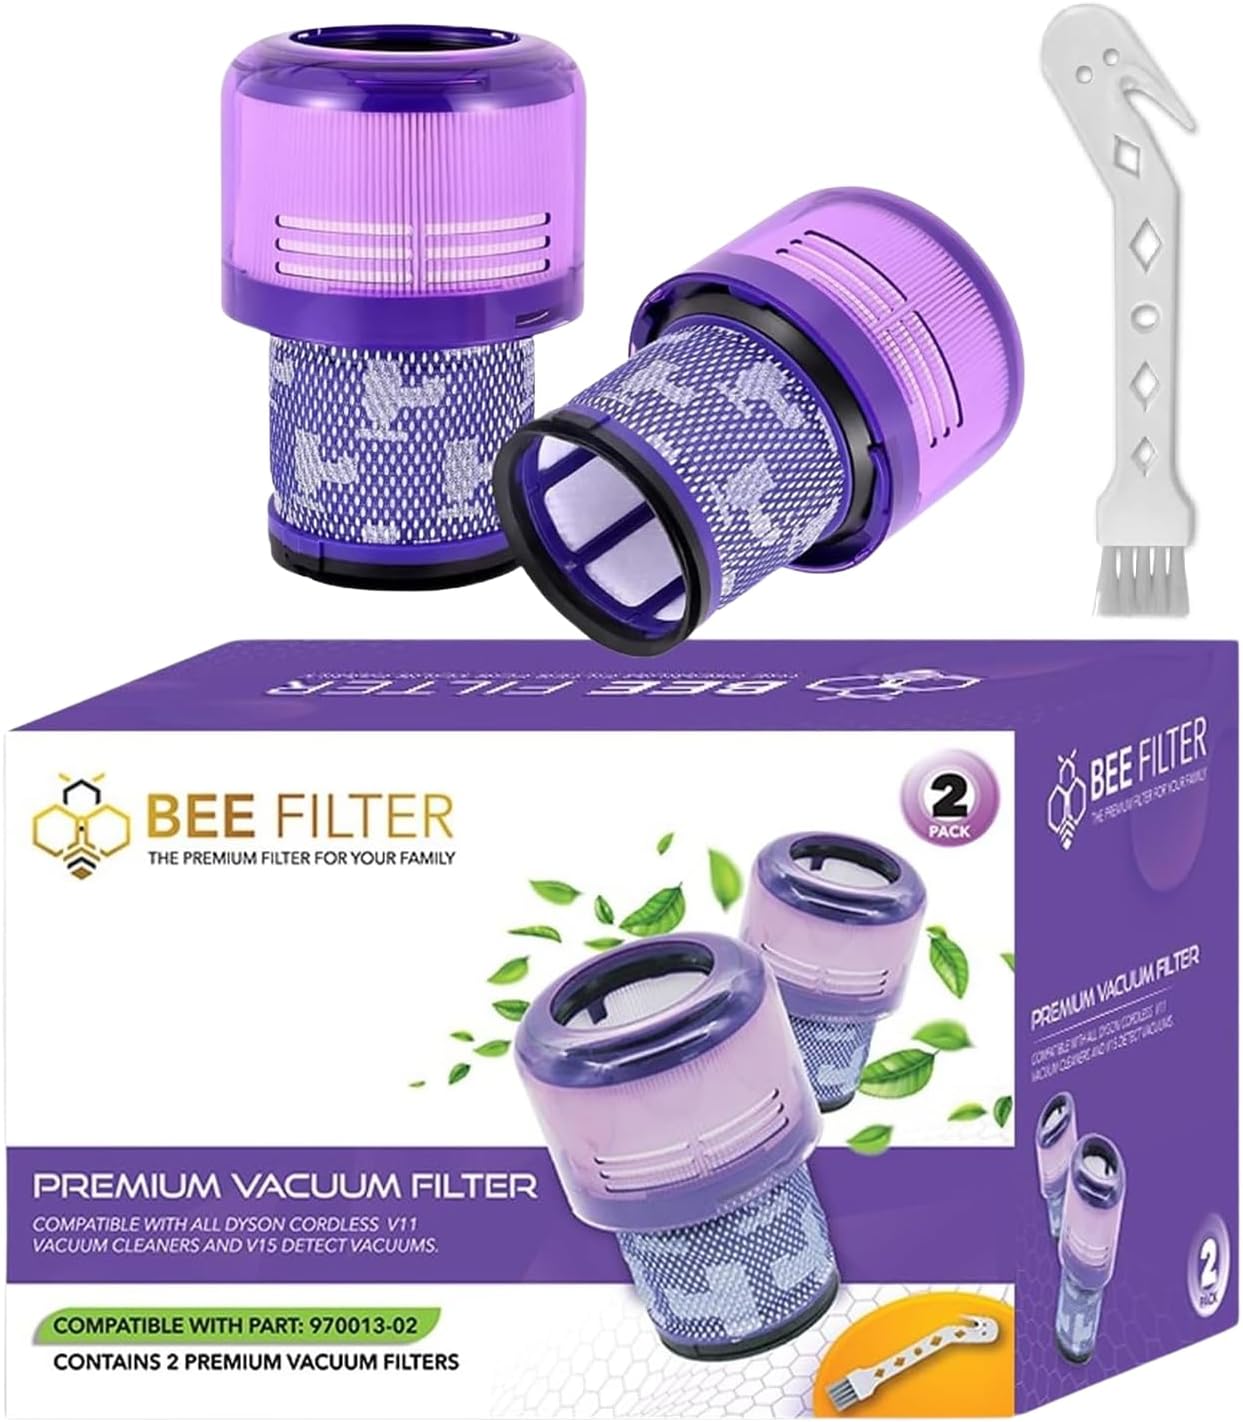
Bee Filter B0CBHHKJXG is listed for selected V15 and V11 models; B0DSZF1N42 is a V12 listing. Keeping those identifiers on separate storage containers makes a household mix-up easier to spot. Neither product should be treated as a universal Dyson filter.
Check installation using the model’s own method
With the machine off and power precautions followed, remove and inspect the filter as instructed. Check that accessible attachment areas are clear and that the part is aligned correctly. Refit only according to the prescribed method. If it does not seat normally, stop rather than forcing it to reach a familiar-looking position.
Do not assume that a harder twist is the answer to an attachment message. The relevant questions are whether the part is correct, whether its mating features are intact and whether anything is preventing normal placement. A forceful attempt can turn an uncertain fit into visible damage without resolving the warning.
Separate the warning from a general performance complaint
After the appropriate checks, your next action should still depend on the actual message and the official troubleshooting path. A filter-care message, weak pickup and failure to turn on are not interchangeable descriptions. Record each symptom separately if more than one is present.
For example, an owner might report a warning but otherwise describe normal pickup, while another owner may have poor pickup without any filter message. Those two cases need different information. Our low-suction guide helps organize the second type of concern without assuming that every performance issue belongs to the filter.
Why a generic reset trick is not a diagnosis
Online advice often promises one button sequence that clears every warning. Before following such advice, verify that it appears in the official support instructions for your exact model. Clearing a display would not, by itself, establish that a damp, damaged or mismatched filter is suitable for use.
A reliable record of what you checked is more valuable than a long list of random reset attempts. Repeatedly changing settings or removing parts makes it harder to know which action affected the result. Follow one documented sequence, note the outcome, and stop when that sequence directs you to support.
When a known suitable spare can provide useful information
If the model’s instructions or support adviser recommends checking with another filter, use only a correctly matched, ready-to-use part. Write down which filter was used and what happened. A different result may be useful information, but it is not a laboratory test or proof of a particular failure.
Do not buy several unrelated filters to experiment with the machine. First resolve compatibility and follow the troubleshooting process. If both an existing suitable filter and a replacement produce the same unresolved message, tell support exactly that rather than concluding that both products are defective.
Prepare a support message that is easy to act on
Include the full model name, relevant product identifier, a photograph of the warning and the maintenance timeline. Attach clear views of any suspected damage and describe whether the filter fits normally. State the documented checks already completed so support does not have to begin with an ambiguous account.
A concise example is: “My vacuum is [model]. After completing the filter-care procedure, the display shows [exact message]. The installed filter is [identifier]. I have checked [specific steps from the manual]. It [does/does not] seat normally. Photos are attached.” Replace the brackets with your actual information rather than adding a guessed diagnosis.
Prevent the same confusion next time
Keep ready spares apart from filters awaiting care. Save the manual link with the machine’s model details and store product packaging information with your order record. If several people use the vacuum, make its maintenance status visible rather than relying on one person’s memory.
Finally, record the resolution. If the problem was a mixed-up spare, improve labeling. If support identified a damaged component, keep that explanation with the service record. If the issue remains unresolved, leave the machine out of service as advised. The goal is a confirmed next step, not simply a screen that stopped asking for attention.
Sources and further reading
Model-specific manufacturer instructions take priority. Product options refer to the Bee Filter catalog reviewed on October 16, 2026.